

How To Prevent Users From Loading Apps
When data is loading or saving in Power Apps seconds begin to feel like minutes as they tick by. I don't like waiting, and neither do my app users. Optimizing your Power Apps to load/save data as quickly as possible should be done in every app. But in cases where there is still a delay you can use a loading animation can help to ease the tension.
In this article I will show you how to make loading spinners, saving spinners and progress bars in Power Apps.
Table of Contents Where Can I Find A Spinner Image For My App? Loading Spinners in Power Apps Saving Spinners in Power Apps Progress Bars in Power Apps Where Can I Find A Spinner For My App?
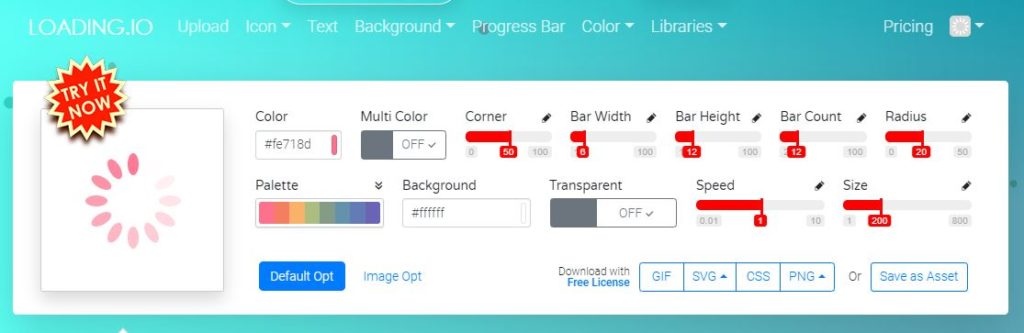
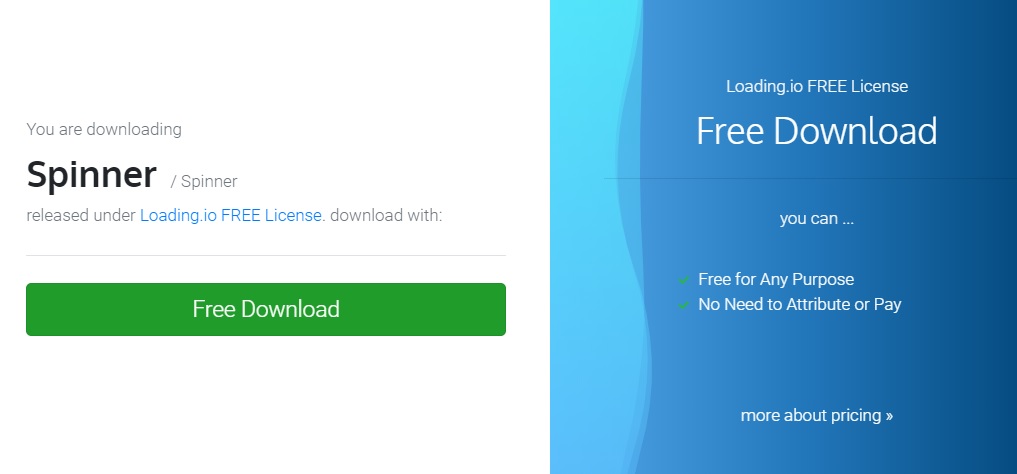
Power Apps does not come with any spinner images so you will have to supply your own. Fortunately, there are many free options available online including the fantastic Loading.io which I will be using for this tutorial. Go to the website and select one the free spinner images to begin customizing.
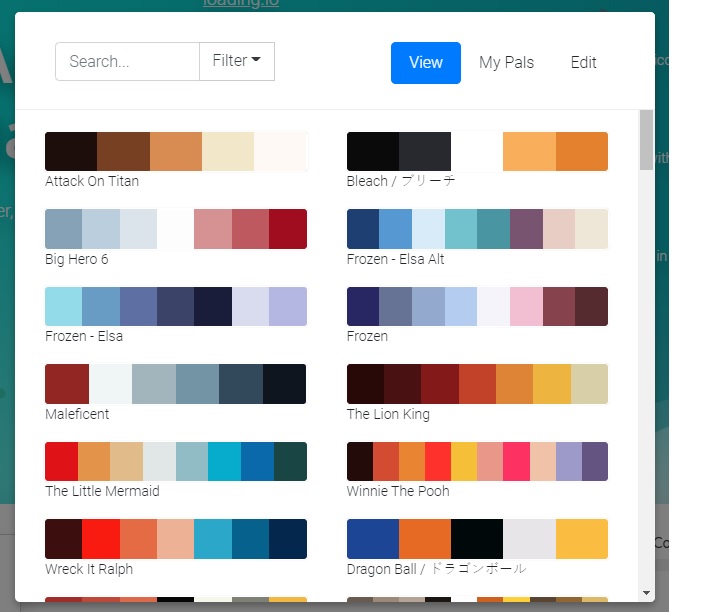
Click on Palette to choose the spinner color. I suggest 'Attack On Titan' if you are looking for a grey colored spinner.
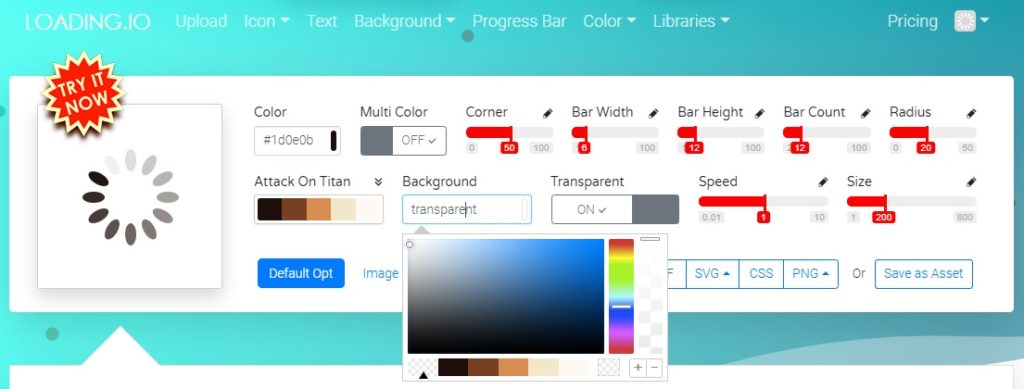
Next, change the Background to Transparent and toggle Transparent to ON.
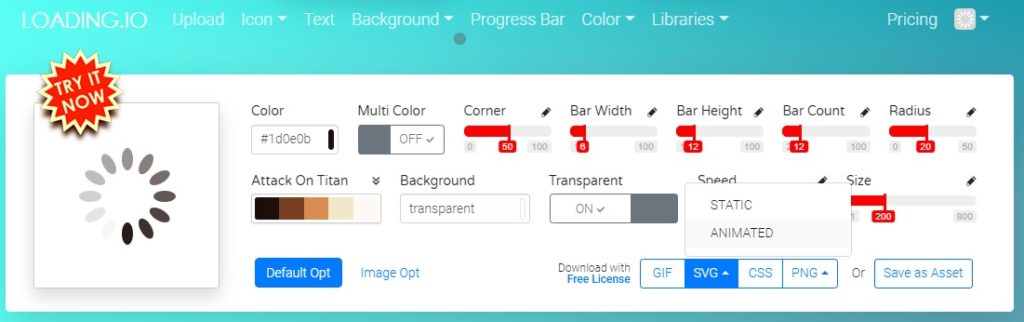
Your loading spinner is now configured. Click the free download button to obtain the image file.
Loading Spinners In Power Apps
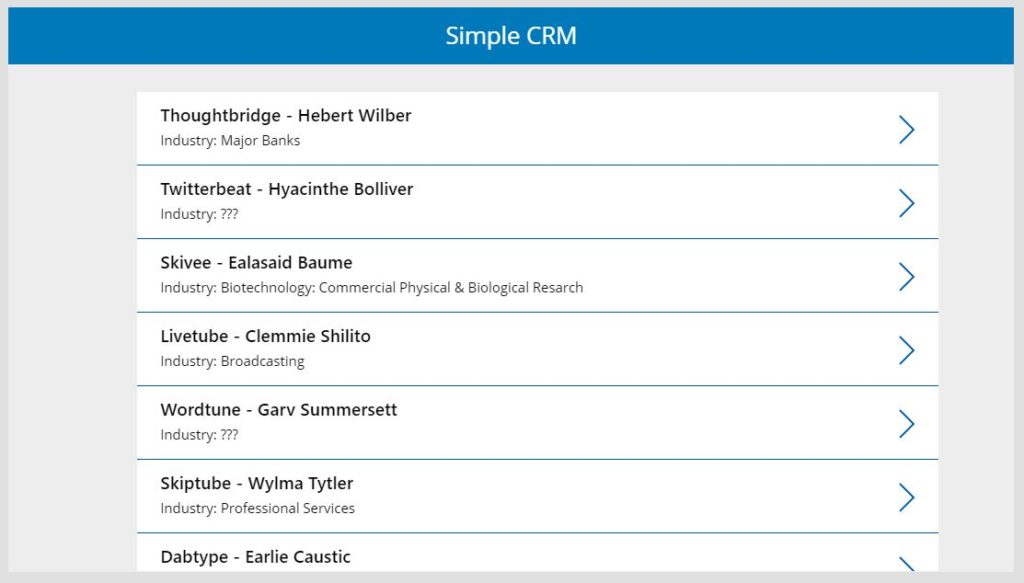
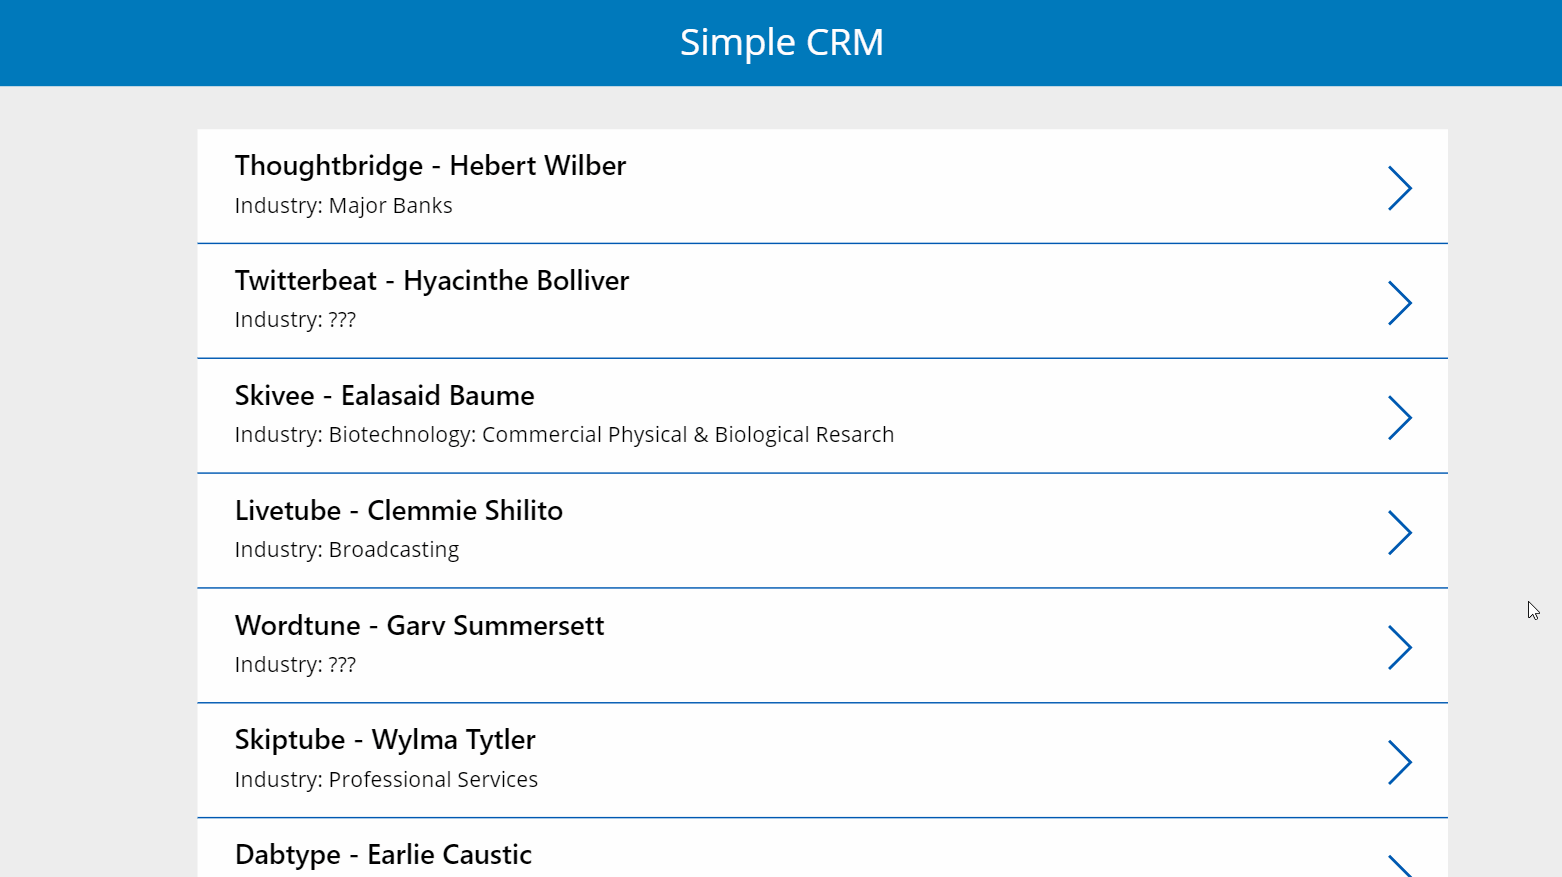
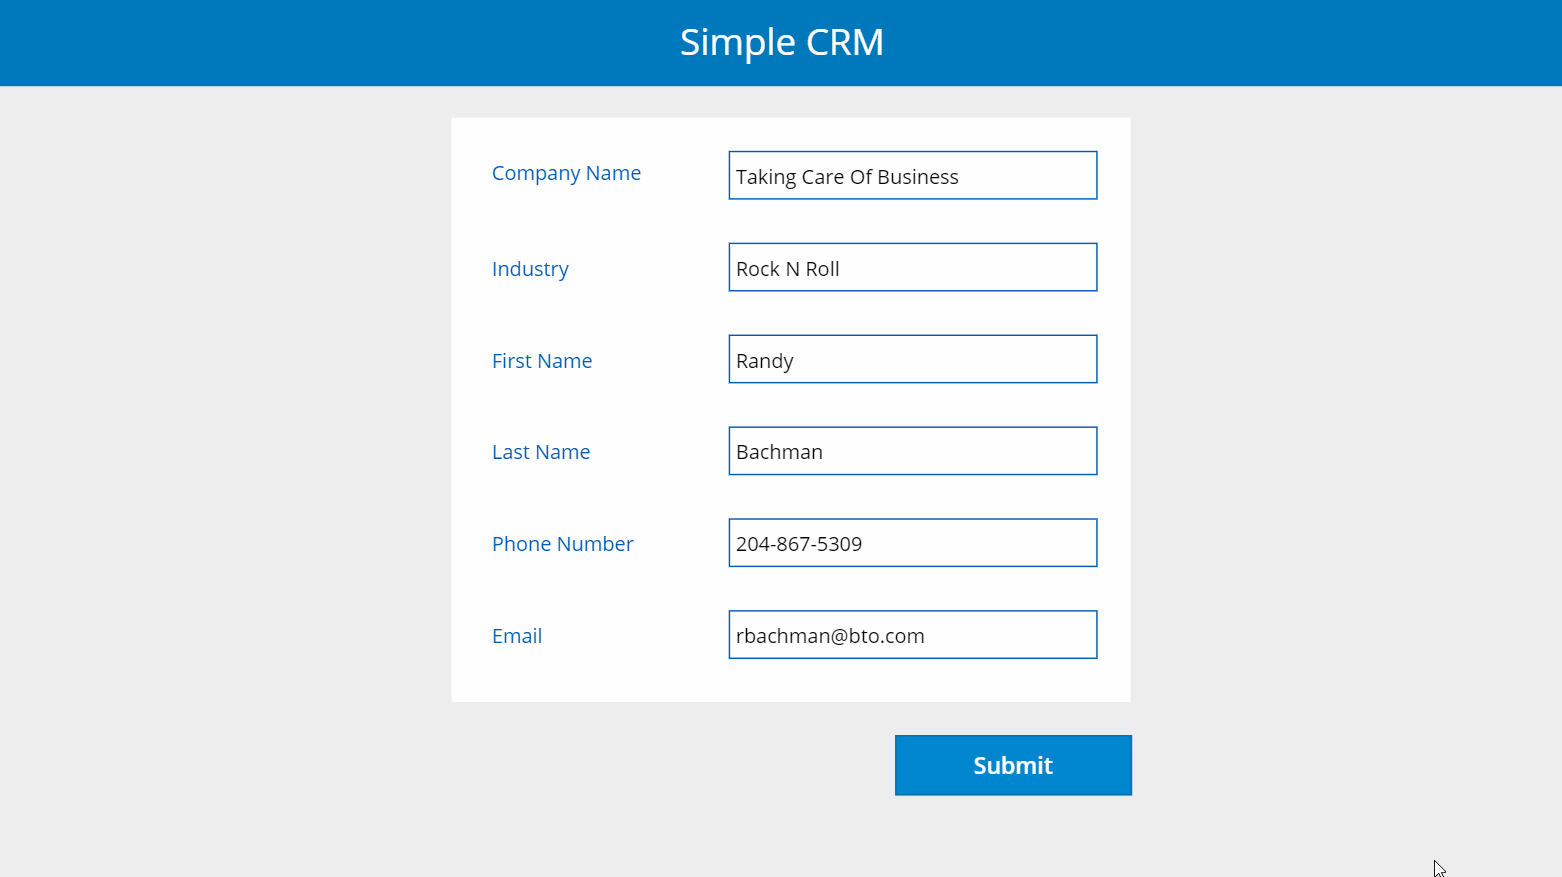
Alright, we've got ourselves a spinner image now how do we use it? In the first example, a user selects an item from the gallery to be displayed on a form on the next screen. The form screen does not appear immediately because the record takes time to load. This is the perfect opportunity for a loading spinner.
Write this code in the OnSelect property of the gallery. We begin this code block by showing the spinner, then in the middle we load the record and at-the-end we hide the spinner.
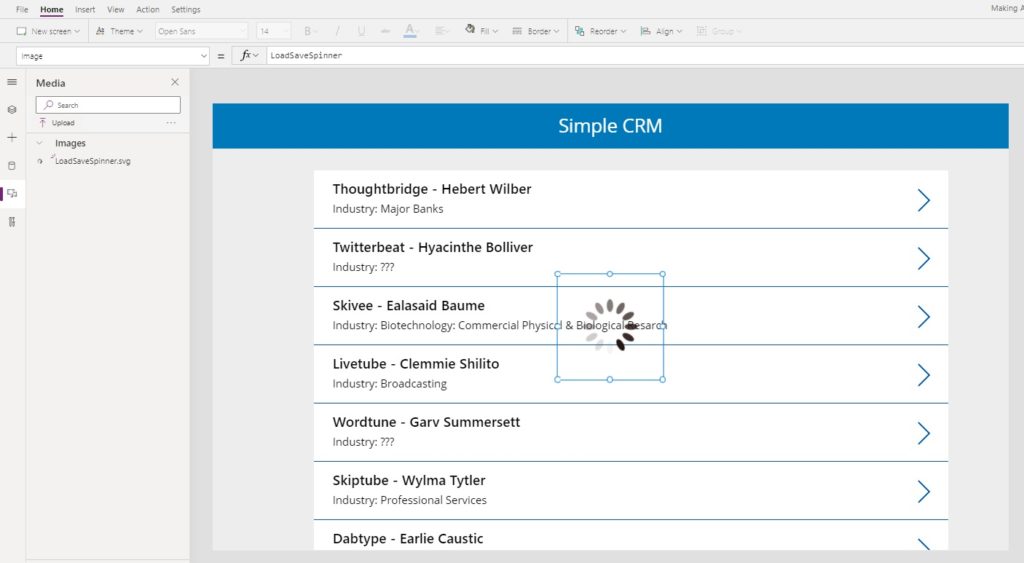
// show the spinner UpdateContext({locShowSpinner: true}); // load data before going to next screen Set(varCurrentRecord, LookUp('Sales Leads', ID=ThisItem.ID)); Navigate('Gallery Screen'); // hide the spinner UpdateContext({locShowSpinner: false}); Upload the spinner you found on Loading.io to Power Apps media section. Place the image in the middle of the screen. Make sure it is on top of all the other controls.
Then insert a label having the Fill property RGBA(0,0,0,0.1) covering the entire screen. It should also be on top of all the other controls to prevent the user from doing another another action.
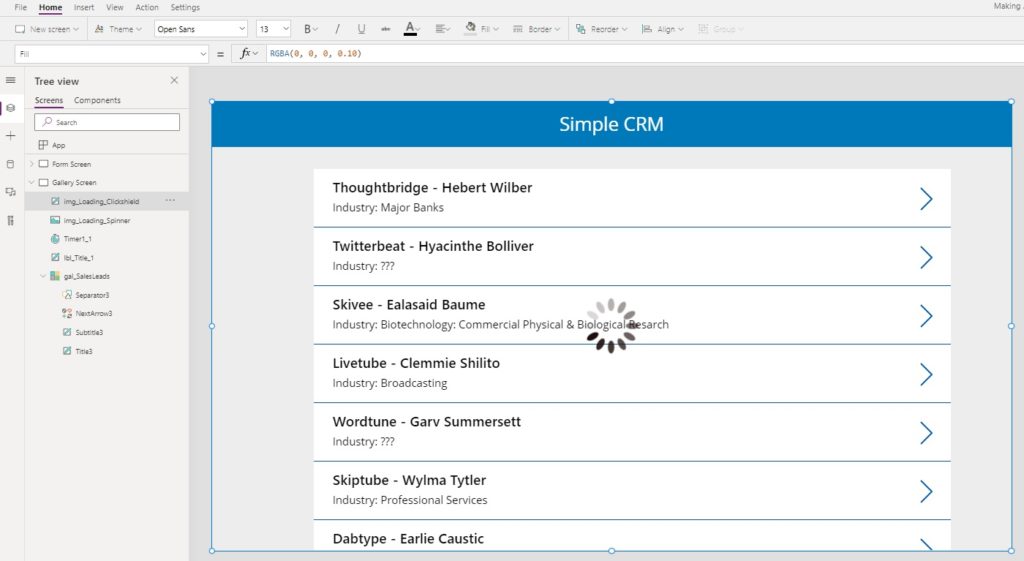
Use the locShowSpinner variable in the Visible property of the loading spinner and the label.
locShowSpinner Now when the the user clicks on a gallery item the loading spinner appears until the form appears. Easy-peasy!
Saving Spinners In Power Apps
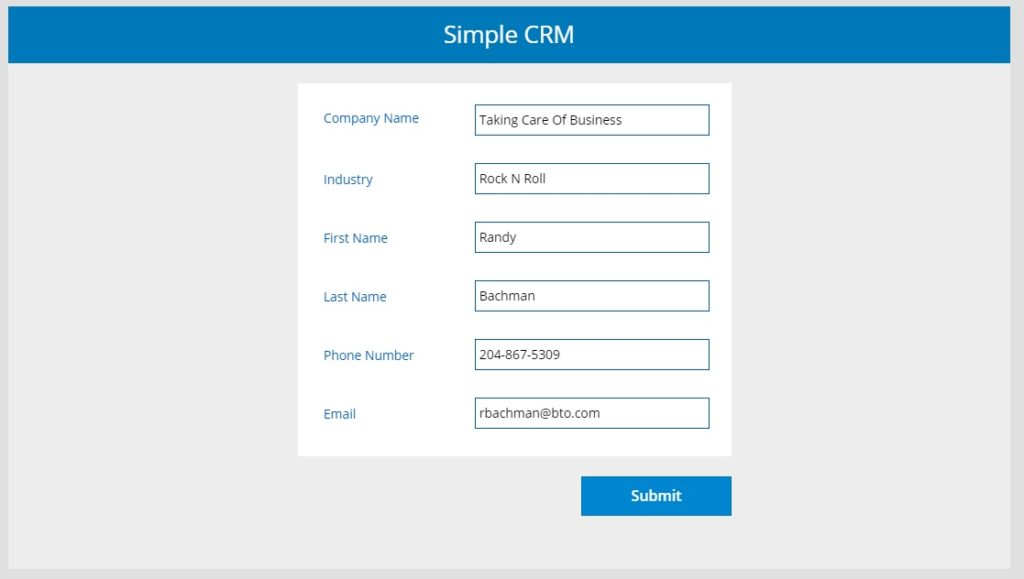
In the second example we will learn how to show a spinner while a form is saving data. I use this technique often because Power Apps forms tend to flicker when changing from Edit Mode to View Mode.
Place this code in the OnSelect mode of the Submit button to show the saving spinner.
UpdateContext({locShowSpinner: true}); SubmitForm(frm_SalesLead); Then write this code in the OnSuccess property of the form. This will make the saving spinner hide once the form data is saved.
UpdateContext({locShowSpinner: false}); Create a copy of the spinner image and position it in the middle of the form
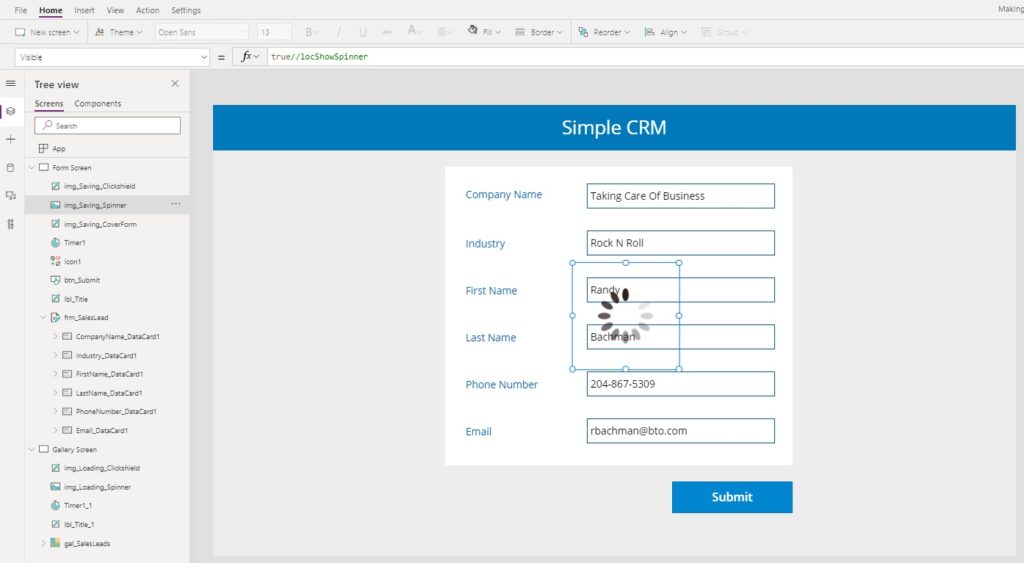
Then create a label with a white Fill property and place it directly over top of the form.
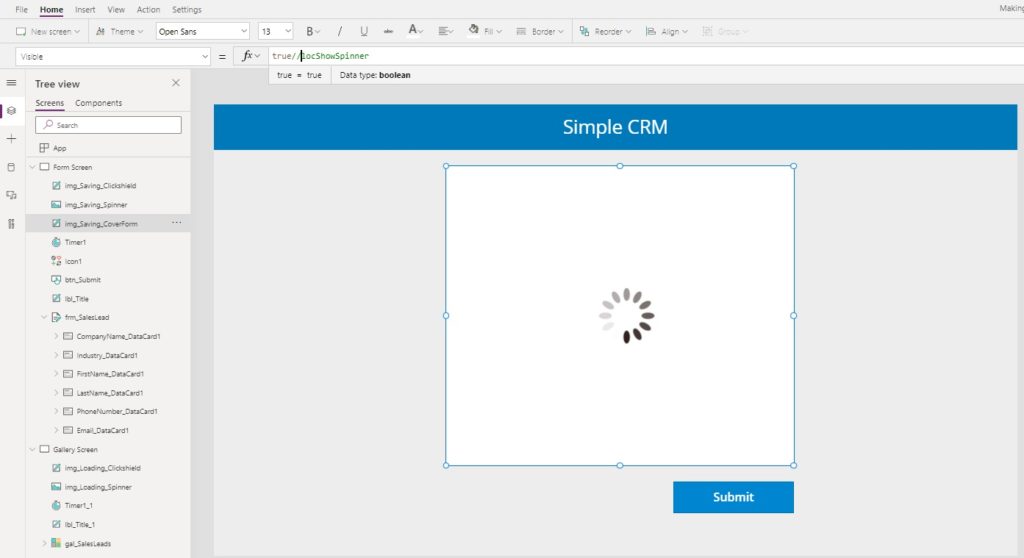
Once again, insert a label having the Fill property RGBA(0,0,0,0.1) covering the entire screen.
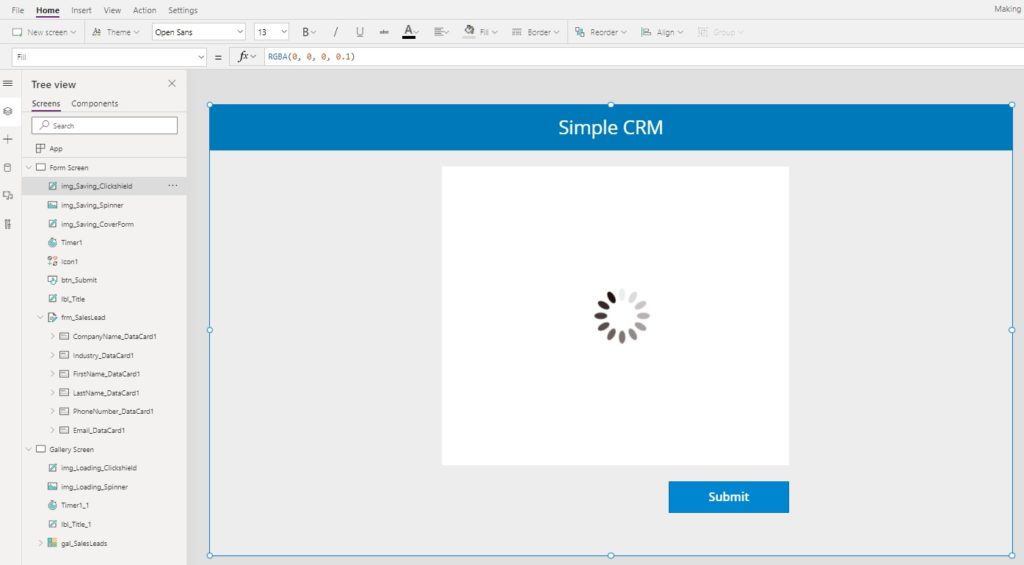
Put the locShowSpinner variable inside the Visible property of all 3 controls.
locShowSpinner Now a spinner shows until the form is finished writing data back to the datasource.
Progress Bars In Power Apps
When loading is expected to take a long time it is important to let the user know what the app is doing so they do not come to believe it is broken. In this final example the app will load several tables of data into collections. I will show how to make a progress bar with text showing which table the app is currently loading.
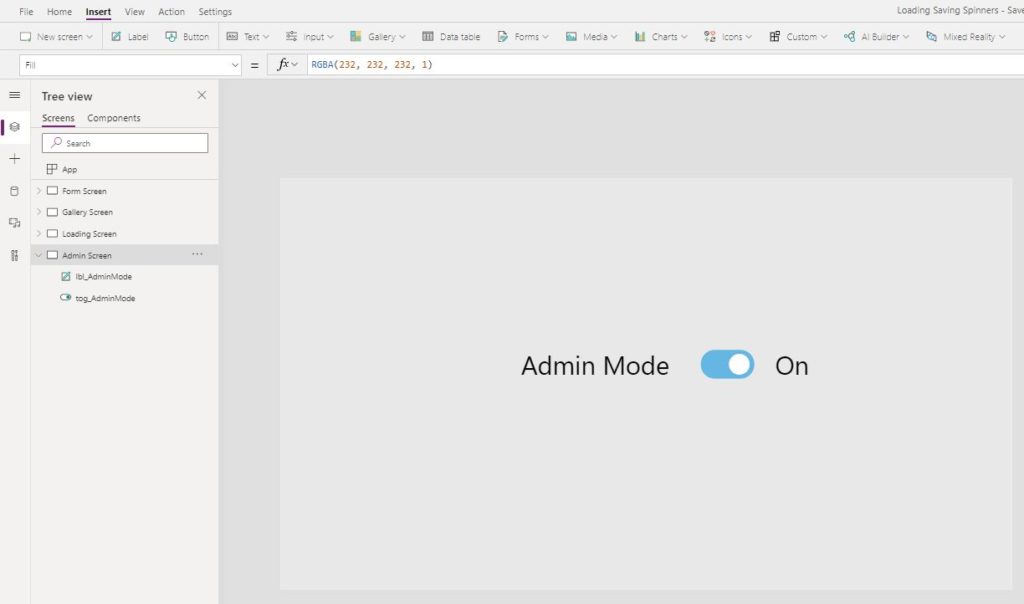
Start by creating a new screen called Admin Screen. Place a toggle on the screen called tog_AdminMode and click to turn it on. The toggle will become important on the next screen to prevent code from executing automatically while we are still developing the app.
Make another new screen called Loading Data and insert a button onto it called btn_LoadData.
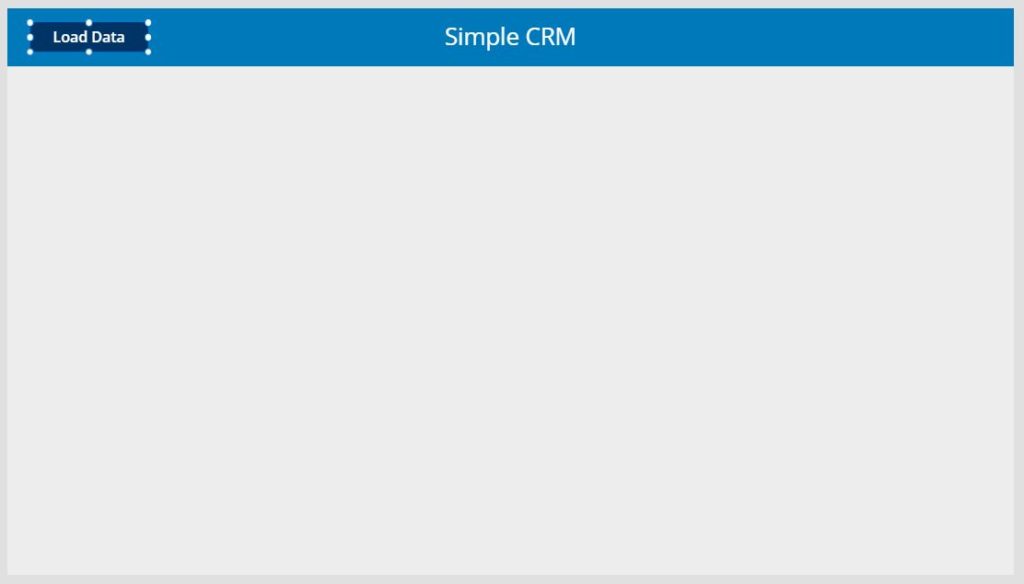
When the user arrives at the Loading Screen the button will pressed automatically. Put this code in the OnVisible property of the Loading Screen.
If(!tog_AdminMode, Select(btn_LoadData)) Next, use this code in the OnSelect property of the button. The pattern updates two variables before each table is loaded: locLoadingMessage to show a message on the screen and locLoadingPercent to increase the width of the progress bar. There is rarely any way to reliably predict what percentage is actually completed so you will usually have to make an estimate and hardcode the values.
UpdateContext({ locLoadingMessage: "Loading Table 1…", locLoadingPercent: 0.2 }); ClearCollect(colTable1, 'SharePoint List 1'); UpdateContext({ locLoadingMessage: "Loading Table 2…", locLoadingPercent: 0.40 }); ClearCollect(colTable2, 'SharePoint List 2'); UpdateContext({ locLoadingMessage: "Loading Table 3…", locLoadingPercent: 0.65 }); ClearCollect(colTable3, 'SharePoint List 3'); UpdateContext({ locLoadingMessage: "Loading Table 4…", locLoadingPercent: 0.90 }); ClearCollect(colTable4, 'SharePoint List 4'); UpdateContext({ locLoadingMessage: "Loading Complete", locLoadingPercent: 1.0}); Navigate('Gallery Screen');
Another thing we will want to do is hide the button when our app is not in Admin Mode. Use this code in the Visible property of the button.
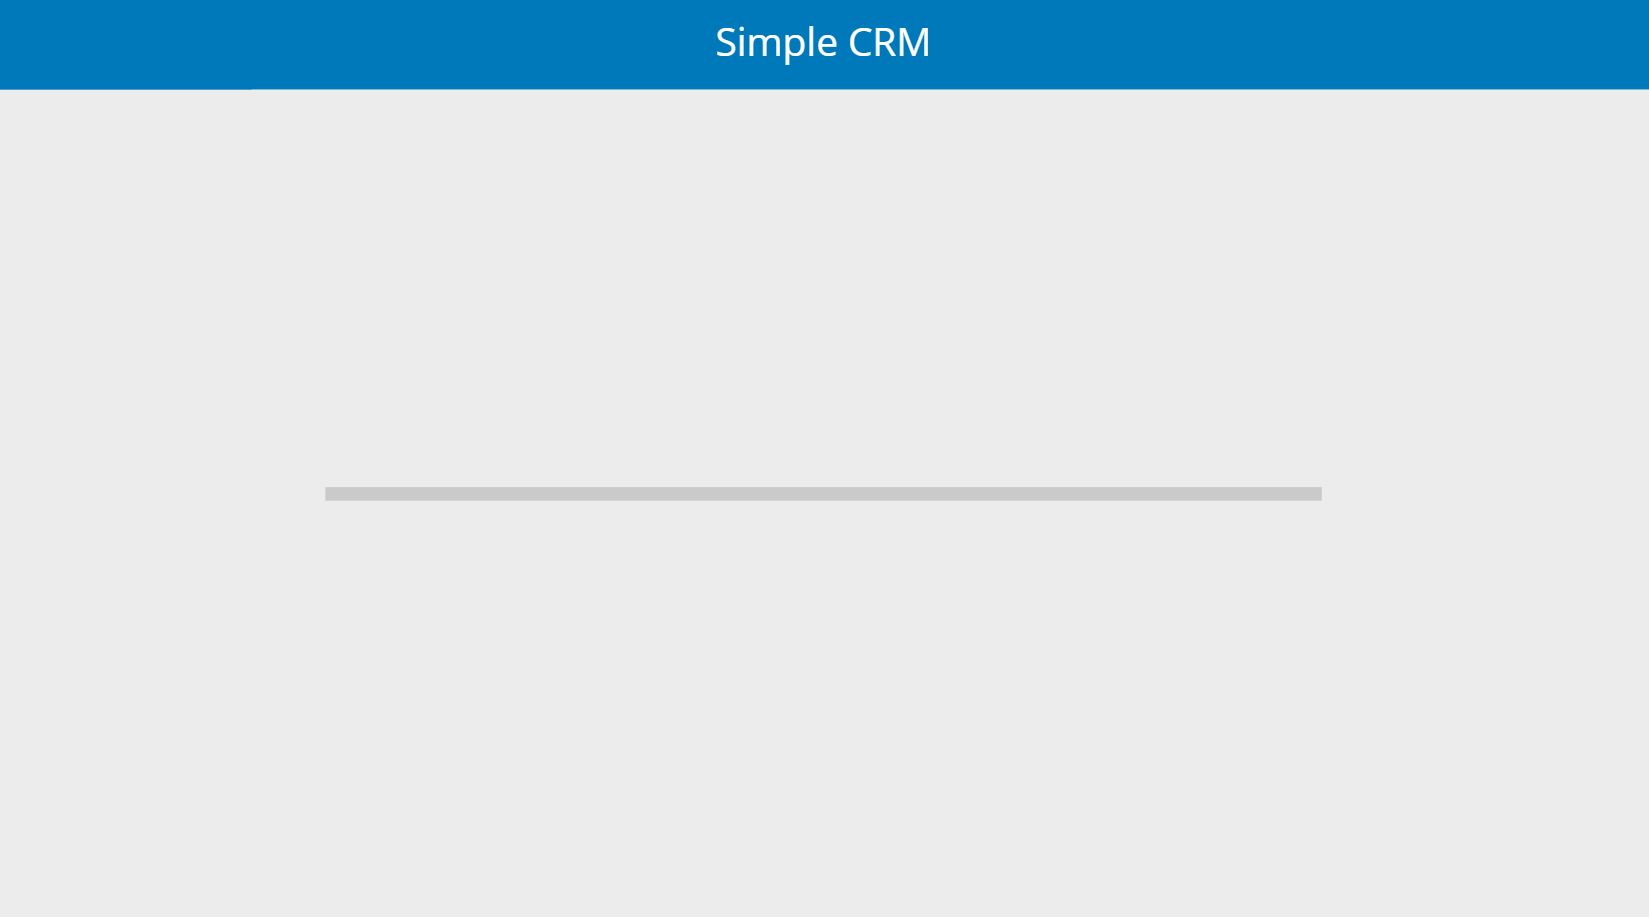
!tog_AdminMode Now let's create the progress bar. Insert a thin rectangle-shaped label onto the screen, change the fill to dark gray and put it in the center of the screen.
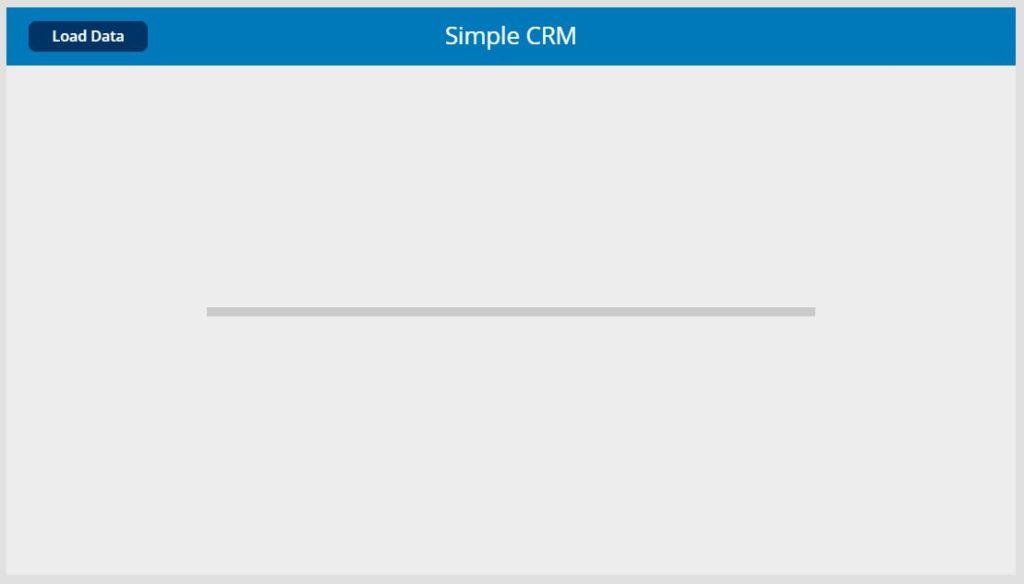
Make a copy of the dark gray label called lbl_ProgressBar_Base and change the Fill property to blue.
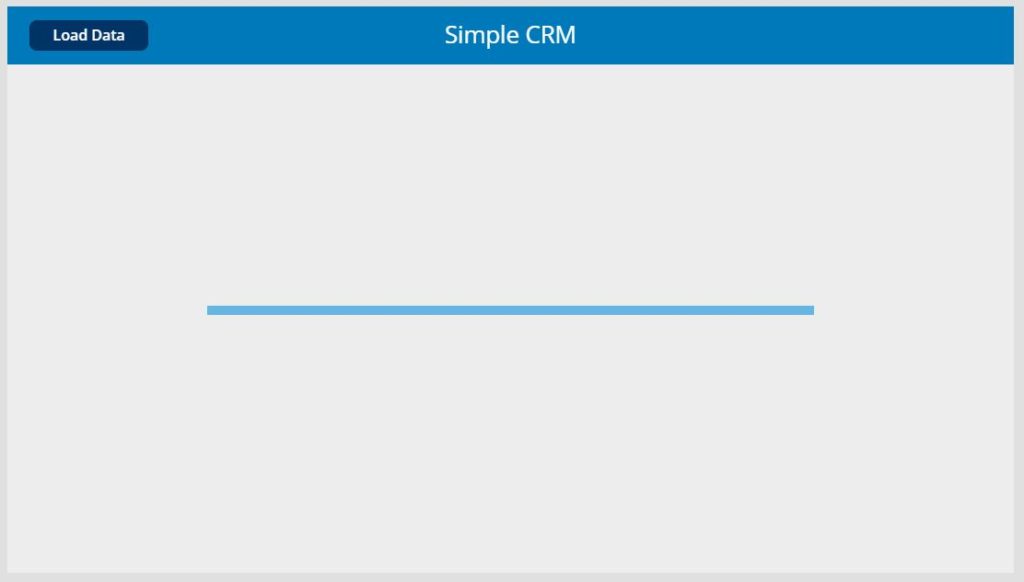
To increase the size of the progress bar as data loads into the collection use this code in the Width property of the lbl_ProgressBar_Base.
lbl_ProgressBar_Base.Width*locLoadingPercent Make another label and place it above the progress bar to show the current status.
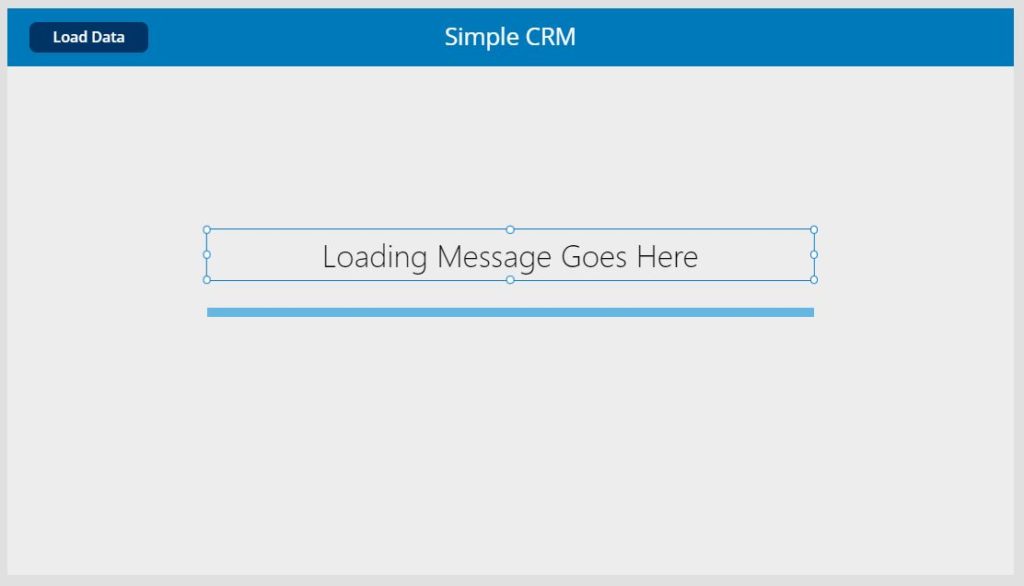
Put the locLoadingMessage label inside the label's Text property.
locLoadingMessage The progress bar now increases as data is loaded and the user knows what the app is doing.
Did You Enjoy This Article? 😺
Subscribe to get new Power Apps articles sent directly to your inbox each week for FREE
Questions?
If you have any questions or feedback about Power Apps Loading Spinners, Saving Spinners and Progress Bars please leave a message in the comments section below. You can post using your email address and are not required to create an account to join the discussion.
How To Prevent Users From Loading Apps
Source: https://www.matthewdevaney.com/power-apps-loading-spinners-saving-spinners-and-progress-bars/
Posted by: ferraraemparch.blogspot.com
0 Response to "How To Prevent Users From Loading Apps"
Post a Comment